How to Put a Harness on a Small Dog: 5 Easy Steps
If your small dog spins, ducks, or freezes the second the harness comes out, the problem usually isn’t the dog. It’s that the harness is going on in the wrong order, or it’s the wrong style for a dog that hates things near its head. Small dogs have compact frames and narrow chests, so a harness put on carelessly sits off-center, twists under leash tension, and gives a determined dog just enough room to back straight out of it.
Lay the Harness Flat and Find the D-Ring First
Before you call your dog over, put the harness on the floor and identify three things: the neck opening, the chest strap, and the D-ring where the leash clips on. Ten seconds here saves a minute of fumbling with a wriggling dog in front of you. Keep a treat in your other hand so your dog has a reason to hold still.
If you haven’t bought the harness yet, measure your dog’s neck and the widest part of the chest just behind the front legs, then match both against the brand’s size chart. Our dog collar sizing guide covers the technique.
Which Harness Style Do You Have?
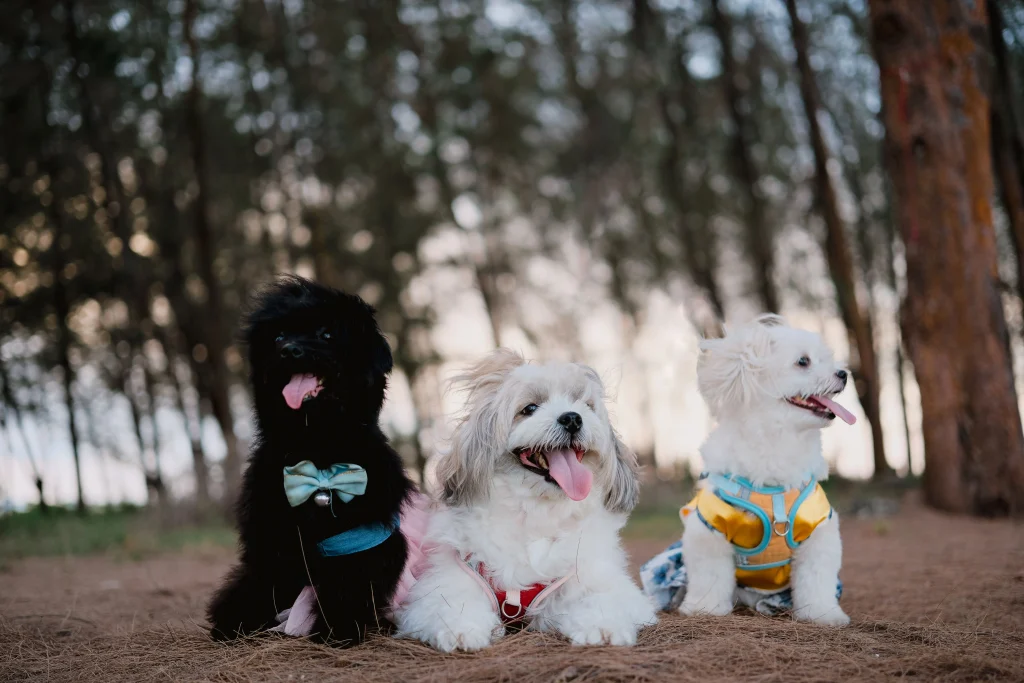
The fitting steps are completely different by design, and most confusion comes from applying the wrong method.
Over-the-head (vest style)
Slips on first, then the belly strap buckles underneath.
Step-in
Lies flat as two loops, and the dog places their front paws in before the harness lifts and clips on the back.
Front clip (single-strap)
Uses one loop around the ribs plus a chest strap, with no divider between the front legs.
Putting On Each Harness Style, Step by Step
Over-the-head: Hold it with the D-ring facing up. Kneel beside your calm dog and slip the opening over the head so it settles on the shoulders. Reach under the belly, pull the chest strap through, and fasten the buckle. Tighten both straps and check that the D-ring sits centered on the back.
Step-in: Lay it flat with the two triangular openings visible and buckles facing up. Guide one front paw into each opening. Lift both sides of the body and clip them together on the back. Adjust until snug without pinching behind the front legs.
Front clip: Position the rib loop around the widest part of the chest, behind the front legs. Bring the chest strap up over the shoulders with the leash ring centered. Fasten the buckle and adjust until the harness lies flat with no twists in the webbing.
The 5-Point Fit Check Before You Clip the Leash
- Two fingers under every strap. Tighter risks chafing. Looser risks slipping out.
- Nothing pressing on the throat. Straps sit below the neck, never across the windpipe.
- Keep the chest strap clear of the shoulder joint. In front of or below the shoulder, never directly across it, which restricts your dog’s stride.
- No twisted webbing. A twist concentrates pressure on one patch of skin instead of spreading it.
- Pull test. Try to slide the harness forward over the head. If it comes off easily, tighten it or size down.
Why Your Dog Backs Out of the Harness Mid-Walk?
Backing out is almost always a fit problem, not a behavior problem. The two usual causes are a harness sized too loose and a chest strap sitting too far forward near the shoulders, where there’s less body holding it in place. Run the pull test before every walk. If your dog still slips free with a correct fit, a snug over-the-head style holds better than a loose step-in, and our best small dog harness guide covers escape-resistant picks.
What to Do When Your Dog Hates the Harness?
Pushing through a nervous reaction makes the next walk harder to start, not easier. Let your dog sniff the harness and reward calm behavior before you try anything else. Practice resting it on their back for a few seconds without buckling, then build up across short sessions. If the problem is specifically anything near the head or ears, a step-in style removes that sensation entirely.
4 Mistakes That Cause Chafing and Slipping
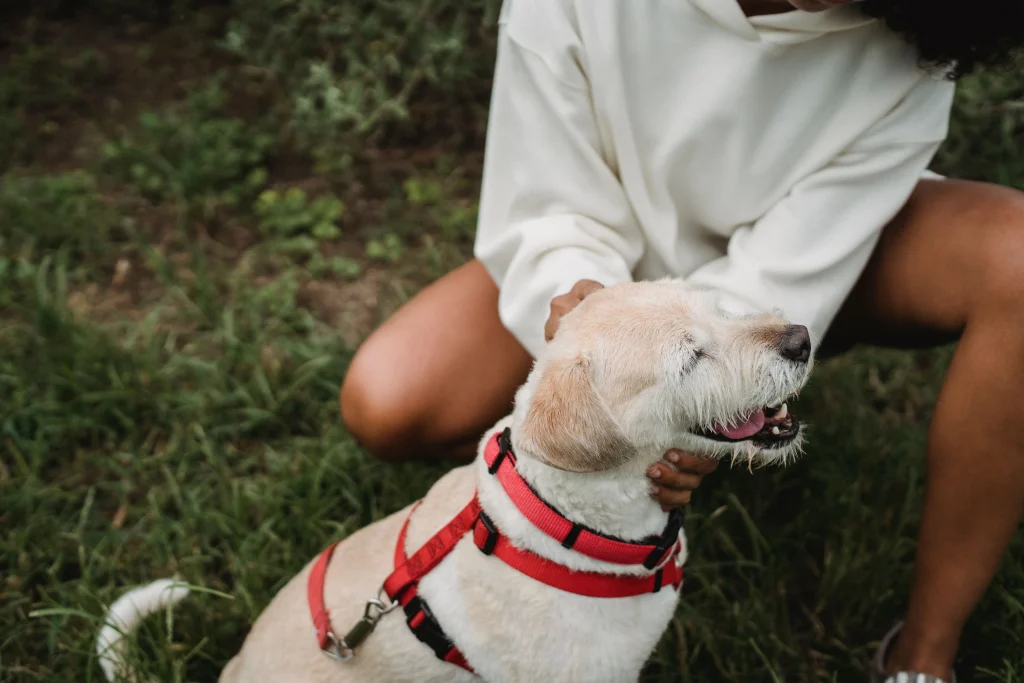
- Guessing the size instead of measuring. The most common cause of rotation, chafing, and escape.
- Rushing a nervous dog. Builds an association that turns every walk into a struggle.
- Leaving straps twisted. Turns even pressure into a single rubbing point.
- Ignoring warning signs. Coughing, gagging, limping, or red marks all mean the fit needs correcting.
If your dog pulls hard once fitted properly, our best no-pull dog harness guide covers front-clip designs built to redirect that, and our dog collar vs harness comparison explains when each makes more sense.
Conclusion
Getting a harness on a small dog cleanly comes down to knowing which style you own, laying it flat before your dog is standing in front of you, and running the two-finger and shoulder checks every time.
Frequently Asked Questions
Q: Which harness style is easiest to put on a small dog?
A: Step-in harnesses are usually easiest for dogs that dislike anything over their head, since the dog steps into two loops and it clips at the back with no contact near the face.
Q: How tight should a small dog’s harness be?
A: Snug enough that you can fit roughly two fingers under every strap. Any more room than that and most dogs can rotate or back out of it.
Q: How long does it take a nervous dog to accept a harness?
A: Most small dogs settle within a few days to about two weeks of short, positive sessions, though anxious or previously stressed dogs can take longer.
Q: Where should the D-ring sit on a properly fitted harness?
A: Centered on the back. An off-center D-ring lets the harness rotate as soon as leash tension is applied.
Q: Why does my dog keep backing out of the harness?
A: Almost always a fit issue, either sized too loose or with the chest strap sitting too far forward near the shoulders. A pull test before each walk catches it.
Q: How often should I recheck my small dog’s harness fit?
A: Every 1 to 3 months for an adult dog, and every 2 to 4 weeks for a growing puppy, plus any time the coat thickness changes with the season.
3 Comments